ND Filters
Picture it:
You’ve just got your hands on a nice used DSLR, your favourite lens is attached, the sun is shining and you’re pumped to shoot. You find your subject, adjust your focus, but everything looks overexposed in every photo you take. What went wrong?
When you first get a DSLR, the expectation is that under any condition the photos you take will always turn out better than any point and shoot. That’s usually the case, but in certain cases a cheaper mirrorless camera can perform better. This is especially true when you’re faced with shooting outdoors on a sunny day.
That’s because, despite all the control you have over your shutter, the white balance and ISO settings, there’s only so much you can do to optimize how the light is hitting the camera’s sensor (and how much of the light you want in there).
Typically to counteract excess light being let into your frame, you may end up having to adjust the aperture, the ISO and the shutter speed -- or all three. By reducing the aperture (making the f/ greater), you’re letting less light into the sensor -- this also goes for increasing the shutter speed. When decreasing the ISO to a lower grading, you’re changing how sensitive the sensor is to light.
All of these methods work but they come at the price of a few things:
- With reducing the ISO, you may not be getting the type of white-balance and vibrance you might be looking for, especially when shooting on a beautiful day.
- When you reduce the aperture, depending on how far you have to go, you can dramatically increase the depth of field which can be especially problematic for shots which need crisp differential focus (such as in macro shots).
- When you increase the shutter speed, motion blur is no longer possible.
For many DSLR users, these are aspects of photography that cannot be compromised. That is where an ND filter comes into play.
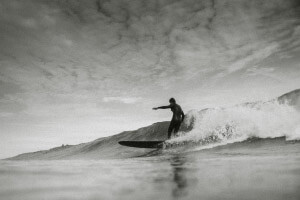
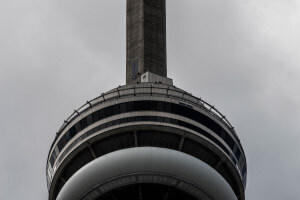
Take a look at these examples from a sunny day in Toronto:

Without The ND Filter
With The ND Filter
In the photo without the ND filter above, you can see that there is no motion blur, the shutter had to be speedy, and in general the colour looks washed out, or slightly overexposed. With the ND filter applied, motion blur is still possible, the sky is no longer washed out, and all colours are crisp.
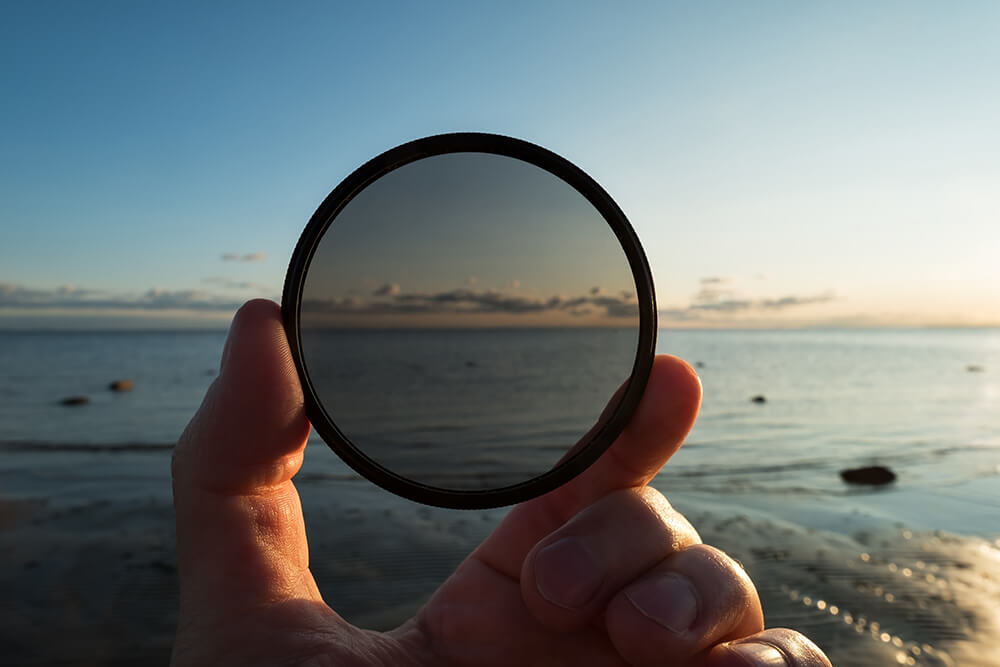
What is an ND filter?
An ND filter is a lens attachment that darkens all light of every wavelength passing through the lens. This means that colour is not disrupted, and there is no visible change in hue.
The photos above were shot on an Olympus OM-D E-M5 equipped with an
M.Zuiko 25mm f1.8 lens. The ND Filter used was an inexpensive Fotga ND2 to ND400 46mm Slim Fader Variable Adjustable ND Neutral Density Filter.
This little addition can save you a lot of headaches when it comes to shooting in certain conditions and is definitely a filter you shouldn’t leave home without!
-- article by: Alexander Tri