All about White Balance

One of the most important settings on your camera is the white balance. White balance settings can completely change the feel and look of a photo, so it’s important to always keep it in mind. Every source of light-- or refraction of light-- possesses a colour temperature that will always cast certain colours on anything you capture in your photo. Before we can understand the importance of white balance, and what exactly is going on in your camera when you change it, let’s talk about color temperature.
Understanding Color Temperature
Color temperature is reported as Kelvin units. If you look inside the white balance settings of any camera, you’ll see these listed beside each setting. In general, higher Kelvin values (7000-10 000) correspond to blue/cold light, where lower values represent warm lights (think red and yellow). In shade, white balance is scaled to around 7000K, whereas in daylight settings, the WB value is around 5200K.
Essentially, what your white balance setting is doing, is telling your camera how to change the active color temperature of your final processed photo to account for these varying shades of the light illuminating your scene. A white piece of paper isn't going to look the same in different enviornments -- to account for how the color white will look, you must adjust your white balance.
If your camera is set to automatically adjust for white balance it will try and guess the Kelvin value. It will do this be using a white subject as a reference for it may be. This can be problematic though, as the white reference point is most likely not pure white, meaning that the camera may assume a different light source.
Always keep it in mind
So let's say you are shooting a landscape at dusk, when the sun is beginning to go down. When the sun sets, typically you’ll have rich yellow and orange colors cast in the sky. If you want to maintain the natural color in your scene, you’ll want to set it to something in the higher range (such as shade). You can also experiment with the tungsten setting (typically used for scene’s lit by warm tungsten lights), which will give you a more blue-ish tint. When the sun sets, the orange light is no longer present, so you’ll have to adjust once more.
Sometimes what looks right in the field won’t always look right when you’re exporting. This is why you should always shoot in RAW. Although the files are larger, RAW has the most minimal data loss, and is far easier to edit in post than with other more compressed formats.
Try your best to shoot the scene as you see it with what white balance settings look the best, but keep your files in RAW just in case. When in doubt, always shoot multiple shots at different white balances. If you can, when shooting landscapes for instance, use a tripod and shoot multiple white balance settings. This allows you to overlap/blend and create a composite which may be helpful (and just fun!) if the situation calls for it.
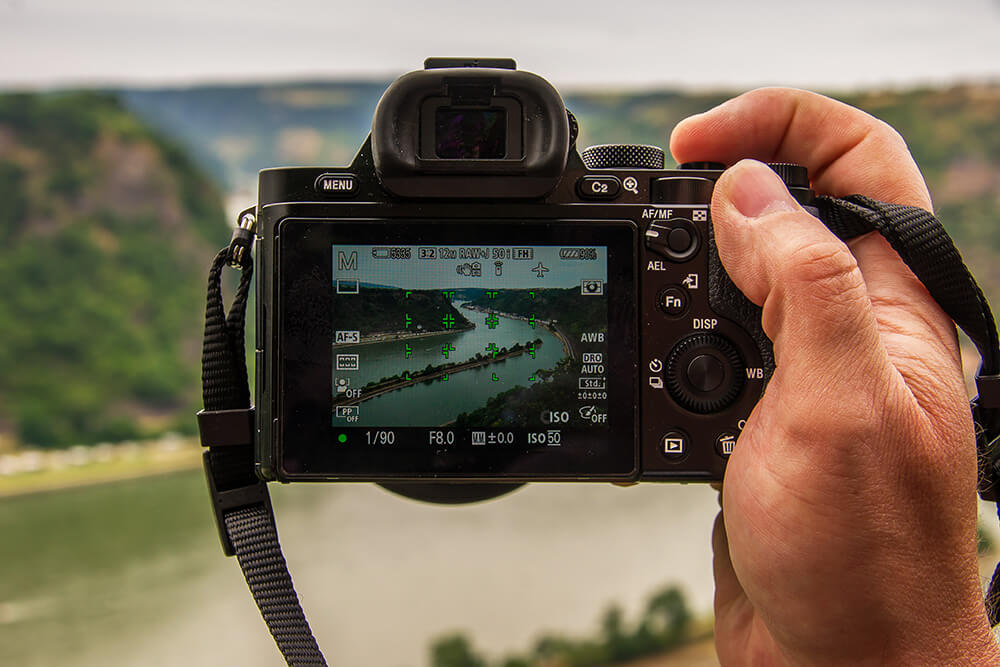
Other tips and tricks:Use live view-- Live view will show you how the camera will process the image, allowing you to make sure its the right white balance even taking the picture. When faced with a bad light situation use the live view to see how the picture looks in different settings.
ExpoDisc-- The ExpoDisc can take a reading of the light falling on the subject, instead of the actual subject, giving the camera a higher chance of successfully guessing the right color composition. Different cameras will have different ways of setting this up and setting a custom white balance, so follow the individual instructions for your camera to do this.
-- article by Linda Wu


